- 查看报错日志 [root@mysql03 nginx]# cat logs/error.log 2017/06/15 04:00:57 [error] 6702#0: *14 "/root/html/index.html" is forbidden (13: Permission denied), client: 10.219.24.1, server: request: "GET / HTTP/1.1", host: "" [root@mysql03 logs]# date Thu Jun 15 04:01:27 CST 2017
- 检查权限 [root@mysql03 ~]# ll drwxr-xr-x. 2 root root 4096 Jun 15 03:59 html [root@mysql03 html]# ll total 8 -rw-r--r--. 1 root root 537 Jun 15 03:59 50x.html -rw-r--r--. 1 root root 616 Jun 15 03:51 index.html 说明:发现目录权限没有问题
- 检查nginx启动进程 [root@mysql03 logs]# ps anx|grep nginx 6546 ? Ss 0:00 nginx: master process ./sbin/nginx 6702 ? S 0:00 nginx: worker process 6726 pts/1 S+ 0:00 grep nginx 说明:发现nginx的work process是nobody的
- 修改 nginx.conf 文件 打开nginx.conf文件所在的目录,查看文件的属性 (root root) [root@mysql03 nginx]# ll drwxr-xr-x. 2 root root 4096 Jun 15 04:08 conf 在nginx.conf文件的第一行加上 user root root; [root@mysql03 nginx]# cat conf/nginx.conf user root root;
- 重新 reload nginx进程 [root@mysql03 nginx]# ./sbin/nginx -s reload
- 再次访问,成功!
最近遇到一个项目,需要将将近2w条围栏数据,快速的绘制到地图上,而且客户的电脑内存只有4g。用传统的svg绘制上地图上,同时渲染页面一下就崩溃了。因此需要以canvas的形式绘制到地图内。接下来我就叙述一下实现的过程。
地图围栏数据的获取方式(地图采用mars2d)
由于需要一次性加载2w条数据,无法通过接口查询数据库,这会消耗大量的时间请求接口查询数据。因此,最好的方案是直接读取文件的geojson资源。这里用的项目资源是shp2的压缩包。
- 将资源文件放置到服务器上
- 请求获取资源,将shp2格式数据转为geojson
将资源文件放置到服务器上
 将文件打包成zip文件,再将资源放到自己的服务器上。
请求获取资源,将shp2格式数据转为geojson
js// url为文件服务器资源
import * as shpUtil from 'shp-geojson';
const geojson = await shpUtil.toGeoJSON(url, undefined, 'gkb', options.crs);
将geojson的围栏数据绘制到canvas内
这里可以看官方示例http://mars2d.cn/editor-vue.html?id=layer-graphic/file/geojson-canvas 这里贴出我这里的关键代码(项目不同需要看文档)
js// geojsonData为服务端来的数据,map为mars2d的地图实例
const showData = (geojsonData: any, map: any) => {

    const canvasLayer = new L.CanvasGeojsonLayer({
        style: {},
        onClick: function (features: any, latlng: any) {
            if (features.length === 0) {
                return
            }

            let inhtml = "<table>"
            const attr = features[0].geojson.properties
            for (const col in attr) {
                const showval = mars2d.Util.trim(String(attr[col]))
                if (showval === null || showval?.toString() === "NaN" || showval === "" || showval === "Null" || showval === "Unknown" || showval === "0" || showval?.length === 0) {
                    continue
                }

                inhtml += '<tr>  <td  style="text-align: right;min-width: 80px;">' + col + ":</td> <td>" + showval + "</td>   </tr>"
            }
            inhtml += "</table>"

            const popup = L.popup().setLatLng(latlng).setContent(inhtml).openOn(map)
        },
        onMouseOver: function (features: any, latlng: any) {
            // handle mouseover events
            if (features.length === 0) {
                return
            }

            for (let i = 0; i < features.length; i++) {
                const properties = features[i].geojson.properties
                if (!properties.Color_Old) {
                    properties.Color_Old = properties.Color
                }
                properties.Color = "rgba(90, 131, 245, 1)"
            }
            canvasLayer.render()
        },
        onMouseOut: function (features: any, latlng: any) {
            if (features.length === 0) {
                return
            }

            for (let i = 0; i < features.length; i++) {
                const properties = features[i].geojson.properties
                properties.Color = properties.Color_Old
            }
            canvasLayer.render()
        }
    })
    canvasLayer.addTo(map)
    canvasLayer.addCanvasFeatures(L.CanvasFeatureFactory(geojsonData))
    canvasLayer.render()
    return canvasLayer
}
const geojson = await shpUtil.toGeoJSON(url, undefined, 'gkb', options.crs);
for (let i = 0; i < geojson.features.length; i++) {
    const feature = geojson.features[i];
    // 设置围栏颜色
    feature.properties.Color = item.color
}
showData({ ...geojson, type: "FeatureCollection" }, map)
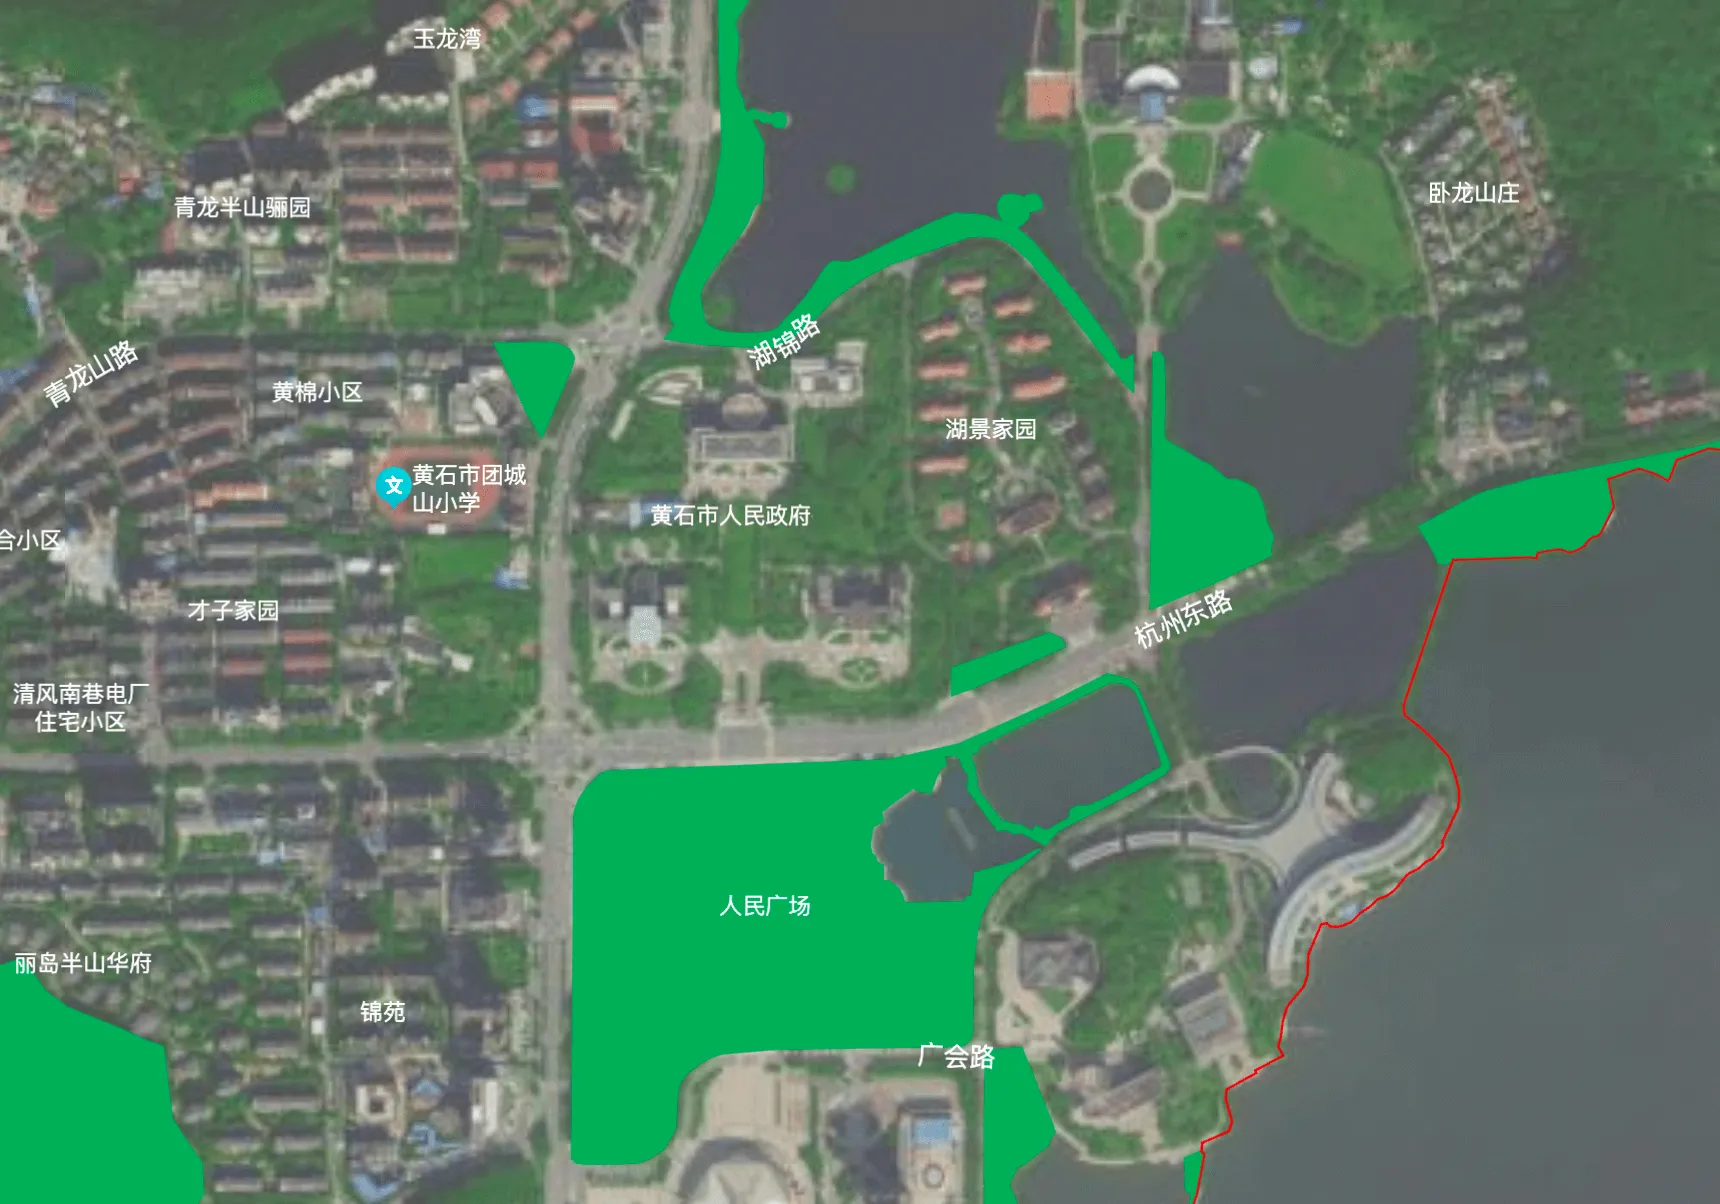
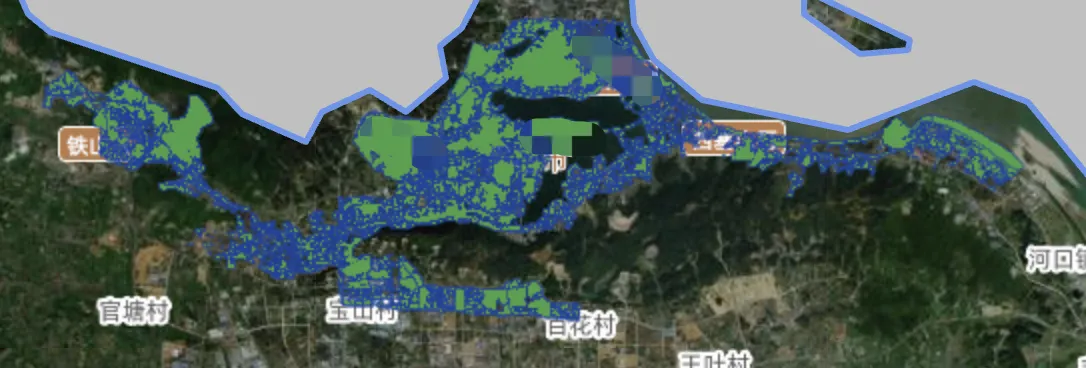
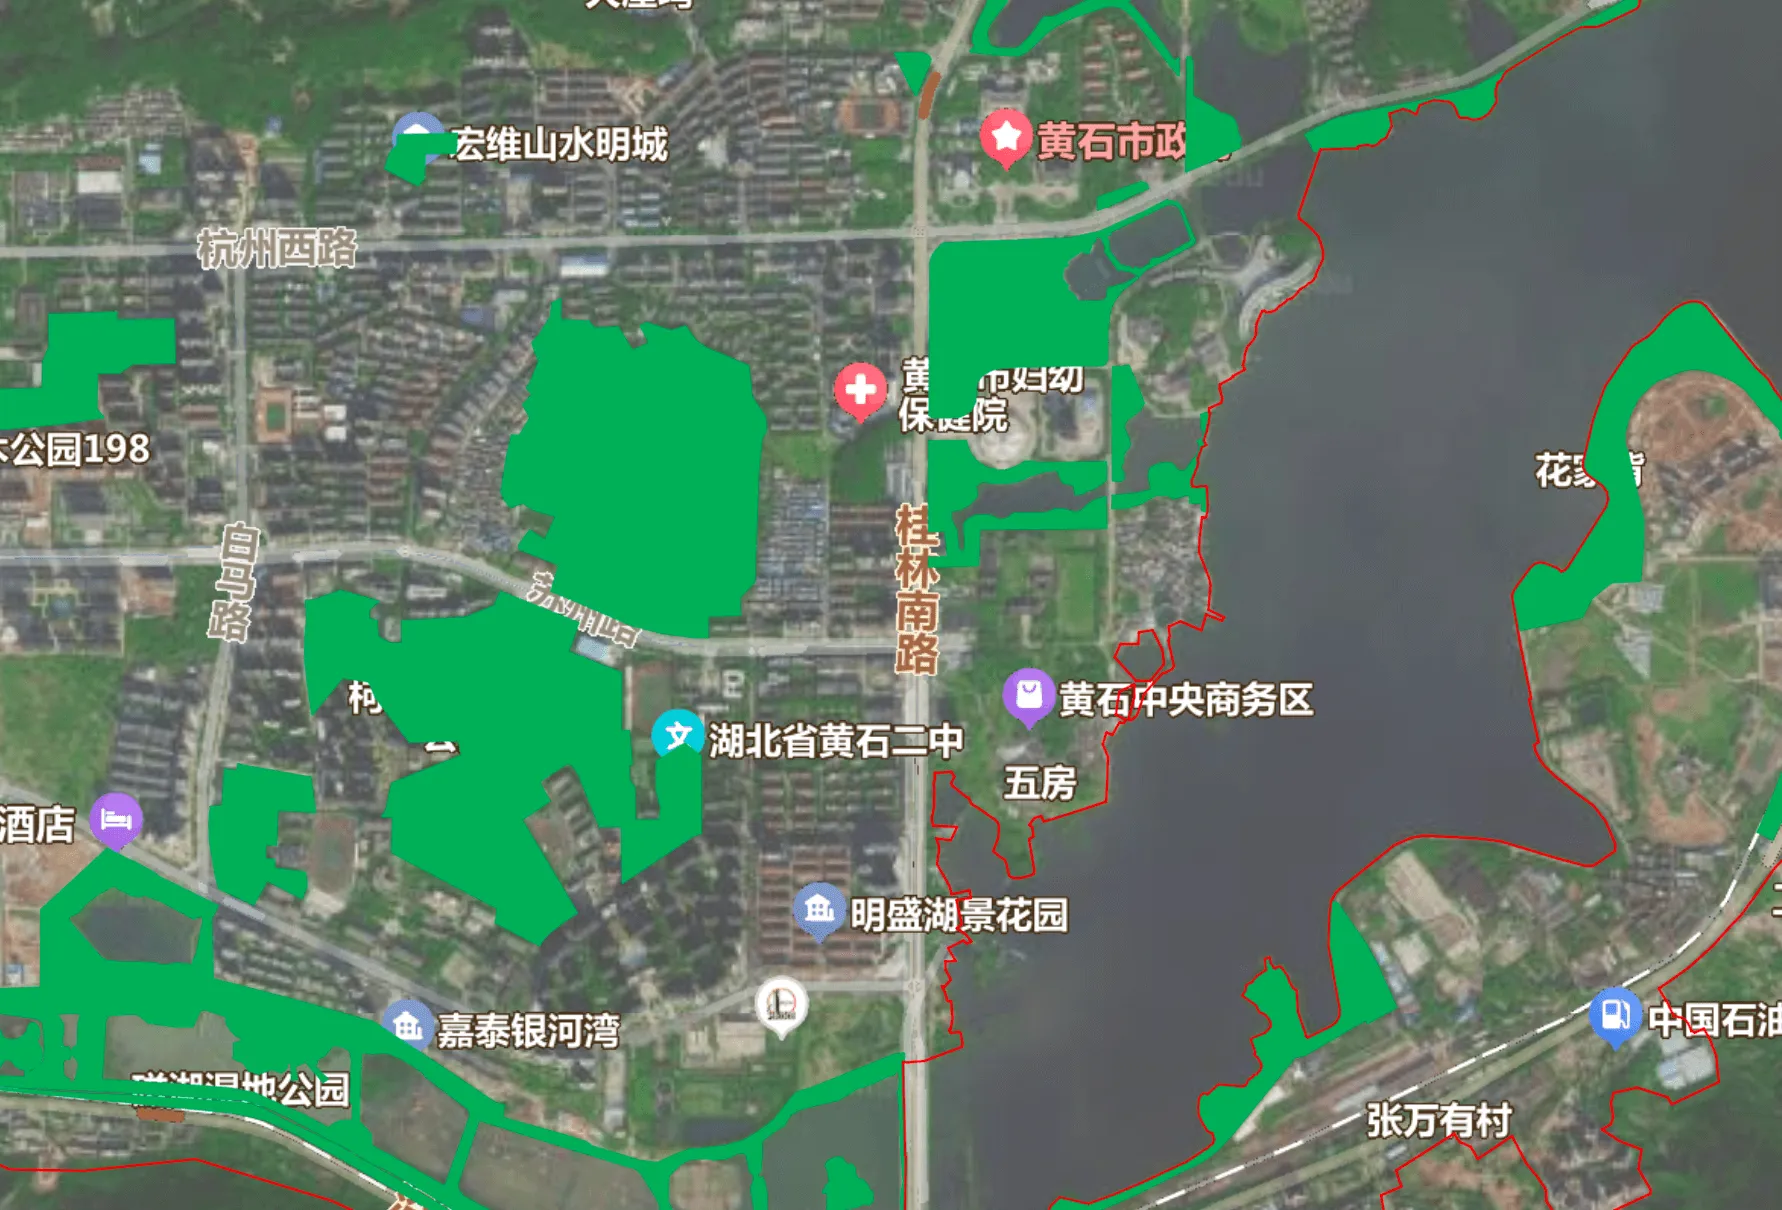
这样就能以canvas的形式绘制到地图内。(数据保密部分打码处理)实现效果:
总结
最终总结
使用其它地图api,也可使用类似的思路,将地图数据改为本地数据,将围栏绘制到地图canvas内部,这种方式是内存消耗小,数据加载快的最有效方案。领导再也不嫌地图资源加载慢了。
地图上地形的图标需要用svg实现,因此学习了下svg线性图标绘制
效果


svg代码
实线
svg<svg width="18" style="transform: rotate(90deg)" height="18" xmlns="http://www.w3.org/2000/svg">
  <rect x="1" y="1" width="16" height="16" fill="none" stroke="#b3fe68" stroke-width="2"/>
  <line x1="3" y1="3" x2="15" y2="15" stroke="#b3fe68" stroke-width="2" />
  <line x1="1" y1="9" x2="15" y2="24" stroke="#b3fe68" stroke-width="2" />
  <line x1="9" y1="1" x2="24" y2="15" stroke="#b3fe68" stroke-width="2" />
</svg>
反斜线
svg<svg width="18" height="18" xmlns="http://www.w3.org/2000/svg">
  <rect x="1" y="1" width="16" height="16" fill="none" stroke="#219a1a" stroke-width="2"/>
  <line x1="3" y1="3" x2="15" y2="15" stroke="#219a1a" stroke-width="2" stroke-dasharray="9,3"/>
  <line x1="1" y1="9" x2="15" y2="24" stroke="#219a1a" stroke-width="2" stroke-dasharray="9,3"/>
  <line x1="9" y1="1" x2="24" y2="15" stroke="#219a1a" stroke-width="2" stroke-dasharray="9,3"/>
</svg>
无规则三角形
svg<svg width="18" height="18" xmlns="http://www.w3.org/2000/svg">
  <!-- 绿色正方形边框 -->
  <rect x="1" y="1" width="16" height="16" fill="none" stroke="#219a1a" stroke-width="2"/>
  <!-- 正斜虚线 -->
  <!-- 更大的绿色三角形,角度不规律 -->
  <!-- 1号三角形,正常朝上 -->
  <polygon points="3,13 9,13 6,5" fill="#219a1a"/>
  <!-- 2号三角形,逆时针旋转30度 -->
  <polygon points="13,3 17,9 9,11" fill="#219a1a"/>
  <!-- 3号三角形,顺时针旋转45度 -->
  <polygon points="4,17 12,15 8,17" fill="#219a1a"/>
</svg>
在使用百度地图官方推荐react库react-bmap时,会经常遇到最新api无法使用的问题(该库也已经很久未维护),因此这里需要修改react-bmap源码,加入最新api。这里以展示标注配置showVectorStreetLayer为例,修改原始包。
问题截图
使用pnpm命令给包打补丁
- 安装pnpm
- 使用pnpm重新安装所有包(生成pnpm-lock.yaml文件)
- 使用pnpm patch给指定包打补丁
- 修改包代码
- pnpm patch-commit提交修改文件
- 重启项目
bash# 安装pnpm
npm install -g pnpm@latest-10
# 使用pnpm重新安装所有包(生成pnpm-lock.yaml文件)
pnpm i
# 使用pnpm patch给指定包打补丁(命令成功后生成/patches/react-bmapgl.patch文件,同时node_modules文件夹下会生成一个.pnpm_patches/react-bmapgl@0.2.28文件)
pnpm patch react-bmapgl
# 提交修改文件
pnpm patch-commit '/Volumes/KX_sd10/sd_pro/cms_v5.1/node_modules/.pnpm_patches/react-bmapgl@0.2.28'
# 重启项目
pnpm run start
react-bmapgl修改添加showVectorStreetLayer配置
找到/node_modules/react-bmapgl/dist/Map/Map.js,安全修改配置 在78行下添加
js ,'showVectorStreetLayer'
在133行添加
js    if(this.props?.showVectorStreetLayer !== undefined) {
        options.showVectorStreetLayer = this.props?.showVectorStreetLayer
    }
使用组件添加showVectorStreetLayer配置
js    <Map
        ref={(ref: any) => {
          map = ref ? ref.map : null;
          actions.addMap(ref ? ref.map : null)
        }}
        showVectorStreetLayer={true}
        // 百度地图个性化配置,可在https://lbsyun.baidu.com/index.php?title=open/custom配置需要用到的json
        mapStyleV2={{ styleJson: satelliteJson }}
    >
    </Map>
已经卫星地图已经改为自定义标注